How to Wash Your Car Exterior Using a Cleaning Kit | Get a Scratch-Free, Deep Shine in Under 30 Minutes
You pull into your driveway on a sunny Saturday, grab that cleaning kit you bought months ago, and realize you’re not really sure if you’re using it right — and the last time you tried, your car ended up with more streaks and spots than when you started.
That hesitation is totally normal. A car cleaning kit comes with several bottles, a mitt, and some towels, but no one gives you a clear, step-by-step method. The good news? Washing your car’s exterior the right way isn’t complicated. You just need a simple system. Follow these steps, and you’ll get a professional-looking finish every single time — no swirl marks, no water spots, and no wasted effort.
TL;DR
Start by parking in the shade and rinsing your car to remove loose dirt. Use the two-bucket method — one bucket with soapy water, one with plain rinse water. Wash from the top down using a microfiber wash mitt, rinsing the mitt in the rinse bucket after each panel. Dry immediately with a large microfiber towel and a spray wax as a drying aid. Clean wheels last with a separate mitt or brush. The whole process takes 20–30 minutes for a small to medium car.
Key Takeaways
- Always wash in the shade to prevent water spots from fast evaporation.
- Use two buckets — one for soap, one for rinsing your mitt — to avoid rubbing dirt back onto paint.
- Work from the top down: roof, hood, sides, then lower panels and wheels last.
- Dry immediately after rinsing; never let a car air dry.
- Use a spray wax or quick detailer as a drying aid for extra lubrication and shine.
Understanding the Right Way to Wash Your Car
Here’s the thing about washing a car — most people do it backward. They start with the wheels (the dirtiest part), use one bucket of increasingly filthy water, and then let the car air dry in the sun. That’s a recipe for scratches and water spots.
Interesting fact: A single wash with dirty water can put thousands of micro-scratches into your clear coat. Those scratches catch light and make your paint look dull and gray over time.
Think about it. Your car’s paint is a thin layer of clear coat over color. That clear coat is only about as thick as a sticky note. Every time you drag a dirty mitt across it, you’re shaving off tiny amounts of that protection. The goal of a good wash is to lift dirt away from the paint, not grind it in.
So ask yourself: Have you been using the same bucket of soapy water for your whole car without changing it? That’s the number one mistake.
What’s Inside a Typical Car Cleaning Kit for Exterior Wash
Most basic car cleaning kits include these items for the exterior:
- Car shampoo — pH-balanced, not dish soap
- Wash mitt — usually microfiber or wool
- Microfiber drying towels — 1–3 towels
- Wheel and tire cleaner — spray bottle
- Glass cleaner — for windows
- Spray wax or quick detailer — for drying and shine
- Tire dressing — optional, for shine on rubber
Some kits also include a scrub brush for wheels, an applicator pad for wax, or a second smaller towel. But the core items above are what you’ll use every wash.
Safety reminder: Never use dish soap, laundry detergent, or household cleaners on your car. They strip wax and can damage rubber trim and window seals.
Do you know what’s actually in your cleaning kit? Pull it out and check the labels before you start.
Timeline: How Car Washing Methods Have Evolved
Car washing has come a long way from the old “hose, bucket, and dish soap” days.
Modern car shampoos, microfiber technology, and the two-bucket method have made home car washing safer for paint than ever before.
Step-by-Step: How to Wash Your Car Exterior Using a Cleaning Kit
Follow these steps in order. Don’t skip around. Each step prepares the car for the next.
Step 1: Gather Your Supplies and Park Smart
Before you touch the car, get everything ready. Nothing kills momentum like realizing you forgot a towel halfway through.
What you need from your kit:
- Car shampoo
- Two buckets (if your kit includes them, or use your own)
- Wash mitt
- Wheel cleaner
- 2–3 microfiber drying towels
- Spray wax or quick detailer
- Glass cleaner (do windows last)
Where to park:
- Find shade. A driveway with tree shade, the side of your house, or wait for an overcast day.
- If you have no shade, wash early morning (before 9am) or late evening (after 5pm).
- Make sure you have hose access within reach.
Interesting fact: Direct sunlight can make surface temperatures reach 120–140°F. Shampoo dries almost instantly on hot paint, leaving residue that’s hard to remove.
Step 2: Pre-Rinse to Remove Loose Dirt
Don’t touch the paint yet. Use your hose (without a nozzle or with a shower setting) to soak the entire car. Start at the roof and work down. The goal is to knock off loose dust, dirt, and bird droppings before you ever bring a mitt near the paint.
Pay extra attention to:
- Wheel wells — they trap sand and grit
- Lower door panels — road spray collects here
- Front bumper and grille — bug guts need soaking
Let the water run for 2–3 minutes. You’ll see dirty water running off. That’s dirt you won’t be grinding into your paint later.
Safety reminder: Don’t use a pressure washer on a delicate or older car. The high pressure can force water into seals and electrical components.
Step 3: Clean the Wheels First (But With Separate Tools)
Here’s the exception to the top-down rule. Wheels are the dirtiest part of the car. They have brake dust, road grime, and tire dressing residue. You don’t want any of that near your paint.
How to clean wheels:
- Spray wheel cleaner on all wheels and tires.
- Let it sit for 2–3 minutes (check the bottle instructions).
- Use a separate wheel brush or an old wash mitt (not your good paint mitt).
- Scrub the wheels, spokes, and tires.
- Rinse thoroughly with your hose.
Important: After you finish the wheels, rinse your wheel brush or mitt completely. Then wash your hands or change your gloves. Do not touch your paint mitt after touching wheels.
Tip: If your kit didn’t include a wheel brush, use an old microfiber towel that you’ll throw away afterward. Keep it separate from your good towels.
Have you ever washed your wheels with the same mitt you used on the paint? That’s how brake dust scratches happen.
Step 4: Set Up the Two-Bucket Method
This is the most important technique in car washing. It’s simple but makes a huge difference.
What you need:
- Bucket 1: Fill with water and add car shampoo according to the bottle instructions. Usually 1–2 ounces per gallon.
- Bucket 2: Fill with plain water. This is your rinse bucket.
How it works:
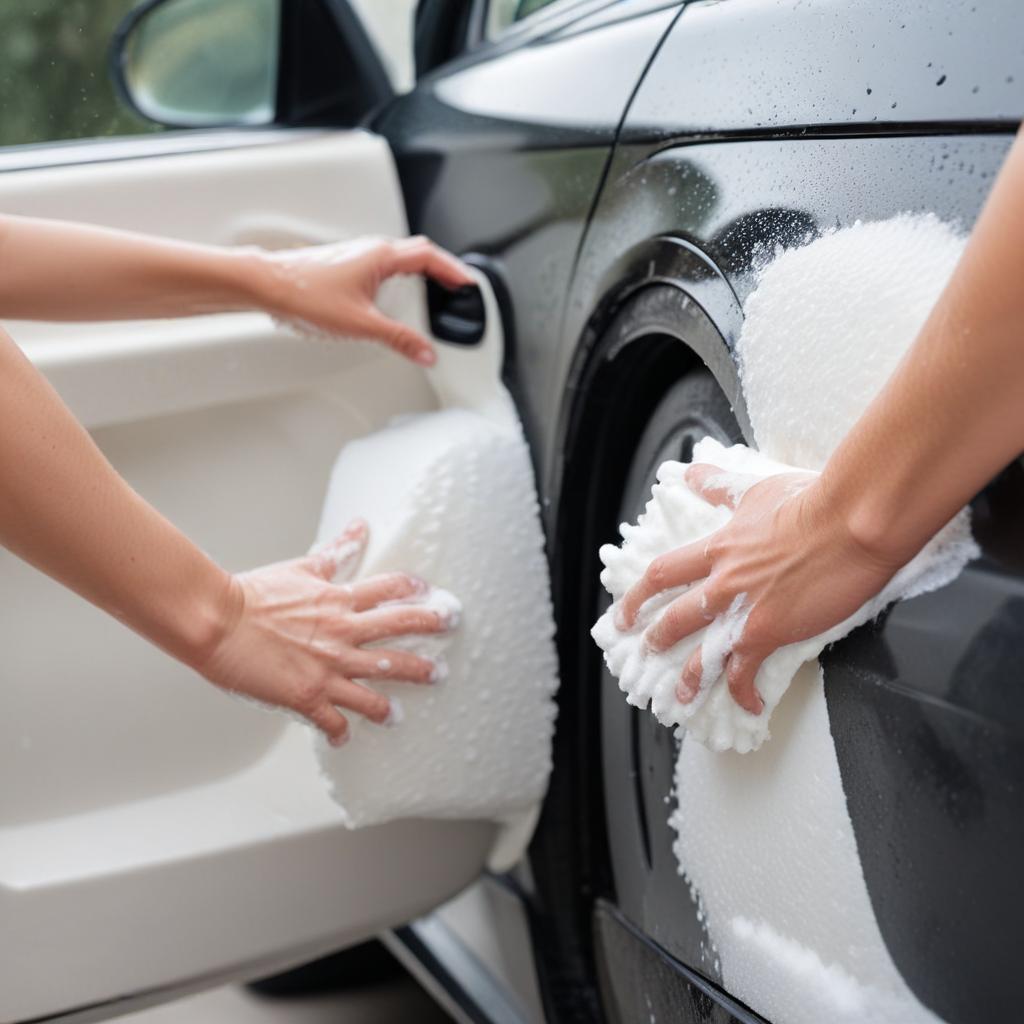
- Dip your wash mitt into the soapy bucket.
- Wash one panel of the car (like the roof or a door).
- Dip the dirty mitt into the rinse bucket. Swish it around to release dirt.
- Squeeze out the rinse water.
- Dip the mitt back into the soapy bucket.
- Move to the next panel.
The rinse bucket keeps dirt from building up in your soapy water. Your soap stays clean, so you’re not rubbing dirt back onto the car.
Interesting fact: Without a rinse bucket, your soapy water becomes a muddy soup after washing just two panels. That muddy soup is full of abrasive grit.
Step 5: Wash From Top to Bottom
Now you’re ready to wash. Work in sections. Don’t try to soap the whole car at once — it will dry before you rinse.
Order of panels:
- Roof and sunroof
- Windshield and rear glass
- Hood
- Upper doors and quarter panels
- Trunk or tailgate
- Lower doors and rocker panels
- Front and rear bumpers
- Lower panels near wheels (save for last)
Washing technique:
- Use light pressure. Let the mitt glide.
- Use straight-line motions, not circles. Circles create visible swirl marks.
- Rinse your mitt in the rinse bucket after every single panel.
- If you drop your mitt on the ground, stop. Get a clean mitt. The dropped one now has grit.
Safety reminder: Never press hard on the mitt. If you feel grit or bumps under the mitt, rinse more thoroughly or use a clay bar treatment another day.
Step 6: Final Rinse
Once the whole car is washed, do a final rinse with your hose. Start at the roof again and work down. Use a gentle shower setting, not a sharp jet. The goal is to sheet water off the surface, not blast it.
Pro tip: Remove the nozzle from your hose and let a gentle stream of water flow over the panels. This “sheeting” action leaves less water behind, which means less drying.
Step 7: Dry Immediately — Never Air Dry
This is where most people mess up. They walk away to put away their wash supplies, and the water evaporates, leaving hard water spots all over the paint.
How to dry correctly:
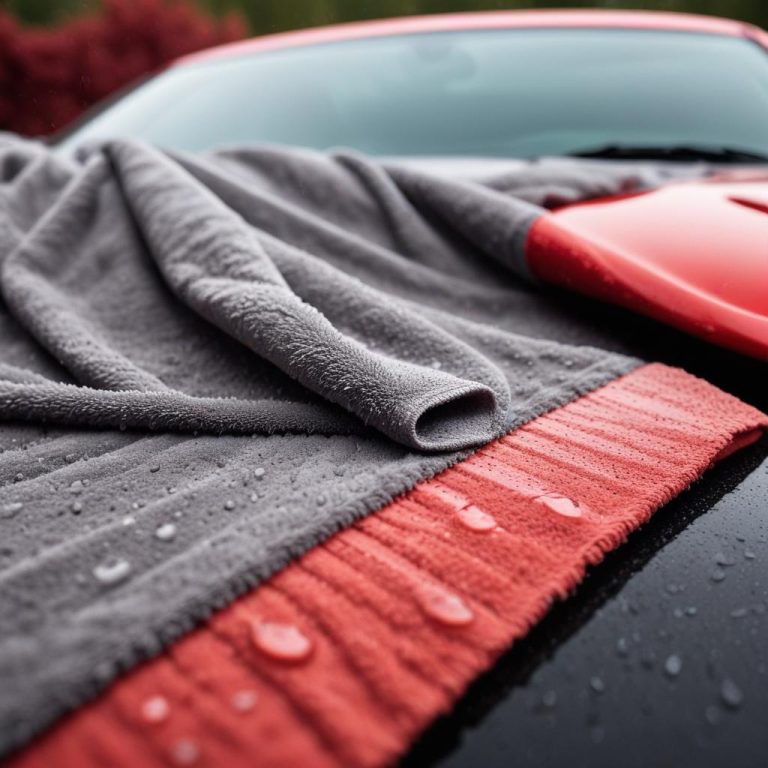
- Grab your large microfiber drying towel.
- Spray a light mist of spray wax or quick detailer onto the wet panel. This is your drying aid.
- Lay the towel flat on the paint and pull it toward you. No scrubbing.
- Flip the towel to a dry section after each pull.
- Wring out the towel when it gets saturated.
Drying order: Same as washing — top to bottom.
Interesting fact: A drying aid like spray wax doesn’t just prevent scratches — it also adds a layer of protection and makes water bead up next time it rains.
Step 8: Clean the Windows and Finish Up
After the car is dry, clean the windows with your glass cleaner. Use a separate microfiber towel (not the one you used for drying). Spray the cleaner onto the towel, not directly on the glass, to avoid drips on your freshly dried paint.
Final touches:
- Open doors and wipe down door jambs with a damp towel.
- Apply tire dressing if your kit includes it (spray or wipe on, let dry).
- Step back and admire your work.
Do you usually skip the drying step and let your car air dry? That’s the fastest way to get permanent water spots.
What If Your Kit Doesn’t Have Everything?
Not every kit includes all the tools mentioned above. Here’s how to work with what you have.
Missing a Second Bucket
Use a large mixing bowl, a small trash can, or even a second bucket from your garage. If you truly have only one bucket, change the soapy water halfway through the wash. Dump it out and refill with fresh water and soap.
Missing a Drying Towel
Use a clean, soft bath towel in an emergency. But buy a proper microfiber drying towel as soon as you can. The difference is huge.
Missing Spray Wax
You can dry without a drying aid, but go very gently. Or use a tiny drop of car shampoo mixed with water in a spray bottle as a homemade lubricant.
Missing Wheel Cleaner
Use the same car shampoo on your wheels. It won’t be as strong, but it’s better than nothing. For heavy brake dust, you’ll want dedicated wheel cleaner eventually.
Tip: If you’re on a tight budget, buy these three things first: car shampoo, a microfiber wash mitt, and a large microfiber drying towel. Everything else is nice but not essential.
Have you been using a kit that’s missing key pieces? Add one new tool every month until you’re fully equipped.
Comparison Table: Popular Car Cleaning Kits for Exterior Washing
Real data from Amazon, Walmart, Target, and AutoZone as of April 2025.
| Cleaning Kit | Included for Exterior | Ease of Use | Price Range | Best For |
|---|---|---|---|---|
| Meguiar’s Complete Kit | Wash, wax, towels, mitt | Very Easy | $30–40 | Beginners, small cars |
| Chemical Guys Medium Kit | Wash, mitt, towels, wheel cleaner | Easy | $50–70 | Enthusiasts who wash weekly |
| Armor All Extreme Kit | Wash, wax, tire shine, towels | Very Easy | $25–35 | Budget-conscious buyers |
| Adam’s Polishes Basic Kit | Wash, mitt, drying towel, detailer | Moderate | $70–90 | Serious home detailers |
| Turtle Wax Hybrid Kit | Wash, ceramic spray, towels | Easy | $35–50 | People who want long-lasting protection |
Common Mistakes When Using a Car Cleaning Kit
Let me save you from the most frequent errors I see.
Mistake #1: Using Too Much Soap
More soap doesn’t mean cleaner. Too much soap leaves residue that’s hard to rinse off. Follow the bottle instructions. Most concentrated shampoos need only 1 ounce per 2–3 gallons of water.
Fix: Measure if you’re unsure. A standard soda bottle cap holds about 1 ounce.
Mistake #2: Washing in Direct Sun
You already know this one. But people still do it. The sun makes everything dry too fast — soap, water, and your towels.
Fix: Change your wash time. Early morning is best. Late afternoon is second best.
Mistake #3: Using the Same Towel for Everything
That one poor towel touched your wheels, your paint, your windows, and your interior. Now it’s a mess of cross-contamination.
Fix: Color-code your towels. Blue for paint. Yellow for glass. Green for interior. Red for wheels. Write on the tags with a marker.
Mistake #4: Forgetting the Door Jambs
The paint inside your door frames gets dirty but never gets washed. Over time, that dirt builds up and looks terrible.
Fix: Every third wash, spray waterless wash on the door jambs and wipe clean. Takes 2 minutes.
Interesting fact: Door jambs are one of the first places a used car buyer looks. Clean jambs suggest a careful owner.
Have you ever opened your door after a wash and seen a line of dirt where the clean paint ends? That’s the door jamb reminder.
How Often Should You Do a Full Exterior Wash?
For a daily driver, once every 1–2 weeks is ideal. Here’s a simple guide:
| Driving Conditions | Wash Frequency |
|---|---|
| Parked in garage, light driving | Every 2–3 weeks |
| Parked outside, normal driving | Every 1–2 weeks |
| Near trees or ocean air | Weekly |
| Winter with road salt | Weekly (or more) |
| After a road trip | Immediately |
Tip: Set a recurring calendar reminder for “Wash Car – Exterior” every other Sunday. Consistency beats perfection.
FAQ: Washing Your Car Exterior with a Cleaning Kit
What’s the best way to wash a car using a basic kit?
Use the two-bucket method, wash from top to bottom, and dry immediately with a microfiber towel and spray wax.
How often should I replace my wash mitt?
Replace every 20–30 washes or when it looks worn or feels rough. A good mitt costs $8–12 and is worth replacing regularly.
Can I use the sponge that came with my kit?
Only if it’s a microfiber sponge. Avoid foam sponges — they trap dirt against the paint and cause scratches.
Is it safe to use the included wheel cleaner on my paint?
No. Wheel cleaner is too strong for paint. Use it only on wheels and tires.
What should I do if I drop my wash mitt on the ground?
Stop using it immediately. The mitt now has grit embedded in it. Switch to a clean mitt or finish with a different method.
How do I clean the microfiber towels after washing?
Wash in cold water with a liquid detergent that has no fabric softener. Air dry or tumble on low heat.
Why does my car still have water spots after I dry it?
You’re likely missing hidden water in mirrors, door handles, or emblems. Use a leaf blower or drive around the block and do a final wipe.
The 30-Minute Exterior Wash Routine (Cheat Sheet)
Print this and keep it with your cleaning kit.
Prep (3 minutes)
- Park in shade
- Gather kit: shampoo, two buckets, mitt, drying towel, spray wax
- Spray wheels with cleaner
Rinse (2 minutes)
- Hose entire car from top down
Wheels (3 minutes)
- Scrub wheels with separate brush or old mitt
- Rinse wheels thoroughly
Two-Bucket Setup (1 minute)
- Bucket 1: water + shampoo
- Bucket 2: plain rinse water
Wash (12 minutes)
- Roof → hood → sides → back
- Rinse mitt in Bucket 2 after each panel
- Light pressure, straight lines
Rinse (2 minutes)
- Hose from top down
- Remove nozzle for sheeting action
Dry (5 minutes)
- Spray wax on wet panel
- Dry with large microfiber towel
- Top to bottom
Windows & Finish (2 minutes)
- Clean glass with separate towel
- Wipe door jambs
- Apply tire dressing if desired
That’s it. Your car looks professionally washed. You saved $20–40 compared to a detailer. And you have the satisfaction of doing it yourself.
Interesting fact: A car that’s hand-washed properly every two weeks will maintain its factory clear coat for 10–15 years. The same car taken through automatic brush washes might need paint correction after just 3–5 years.
What’s your go-to cleaning method or tool? Share your experience in the comments below.
References: